The 3drag / K8200 3d printer
In December 2014 I ordered a 3d printer kit, just because I was really curious on how these things work. And secondly we had a nice project during the Christmas holidays. After several hours bolting, soldering and puzzling it was finished and yes, it did look like the images on the manual!
At New Years day, not really the most mental clear moment in the year, I started the first print. Man, what does 3d printing take long..... But, while still experiencing the results of the evening before, it was really cool to just keep looking at the machine creating an object, layer by layer. Hypnotizing! And a really nice alternative for looking at the traditional January 1st "Garmisch Partenkirchen ski jumping" on TV.
First it was just build as written in the building instructions. But since this is a very easy to modify / improve printer, it asked for more.
The first modification was to add a graphical display so the printer could run stand-alone from an SD-card.
Next was an improved Z-axis. The original kit was provided with a plain M8 threaded rod. I changed that to a much better Trapezium threaded rod, which is designed for these kind of applications. This really improved print quality.
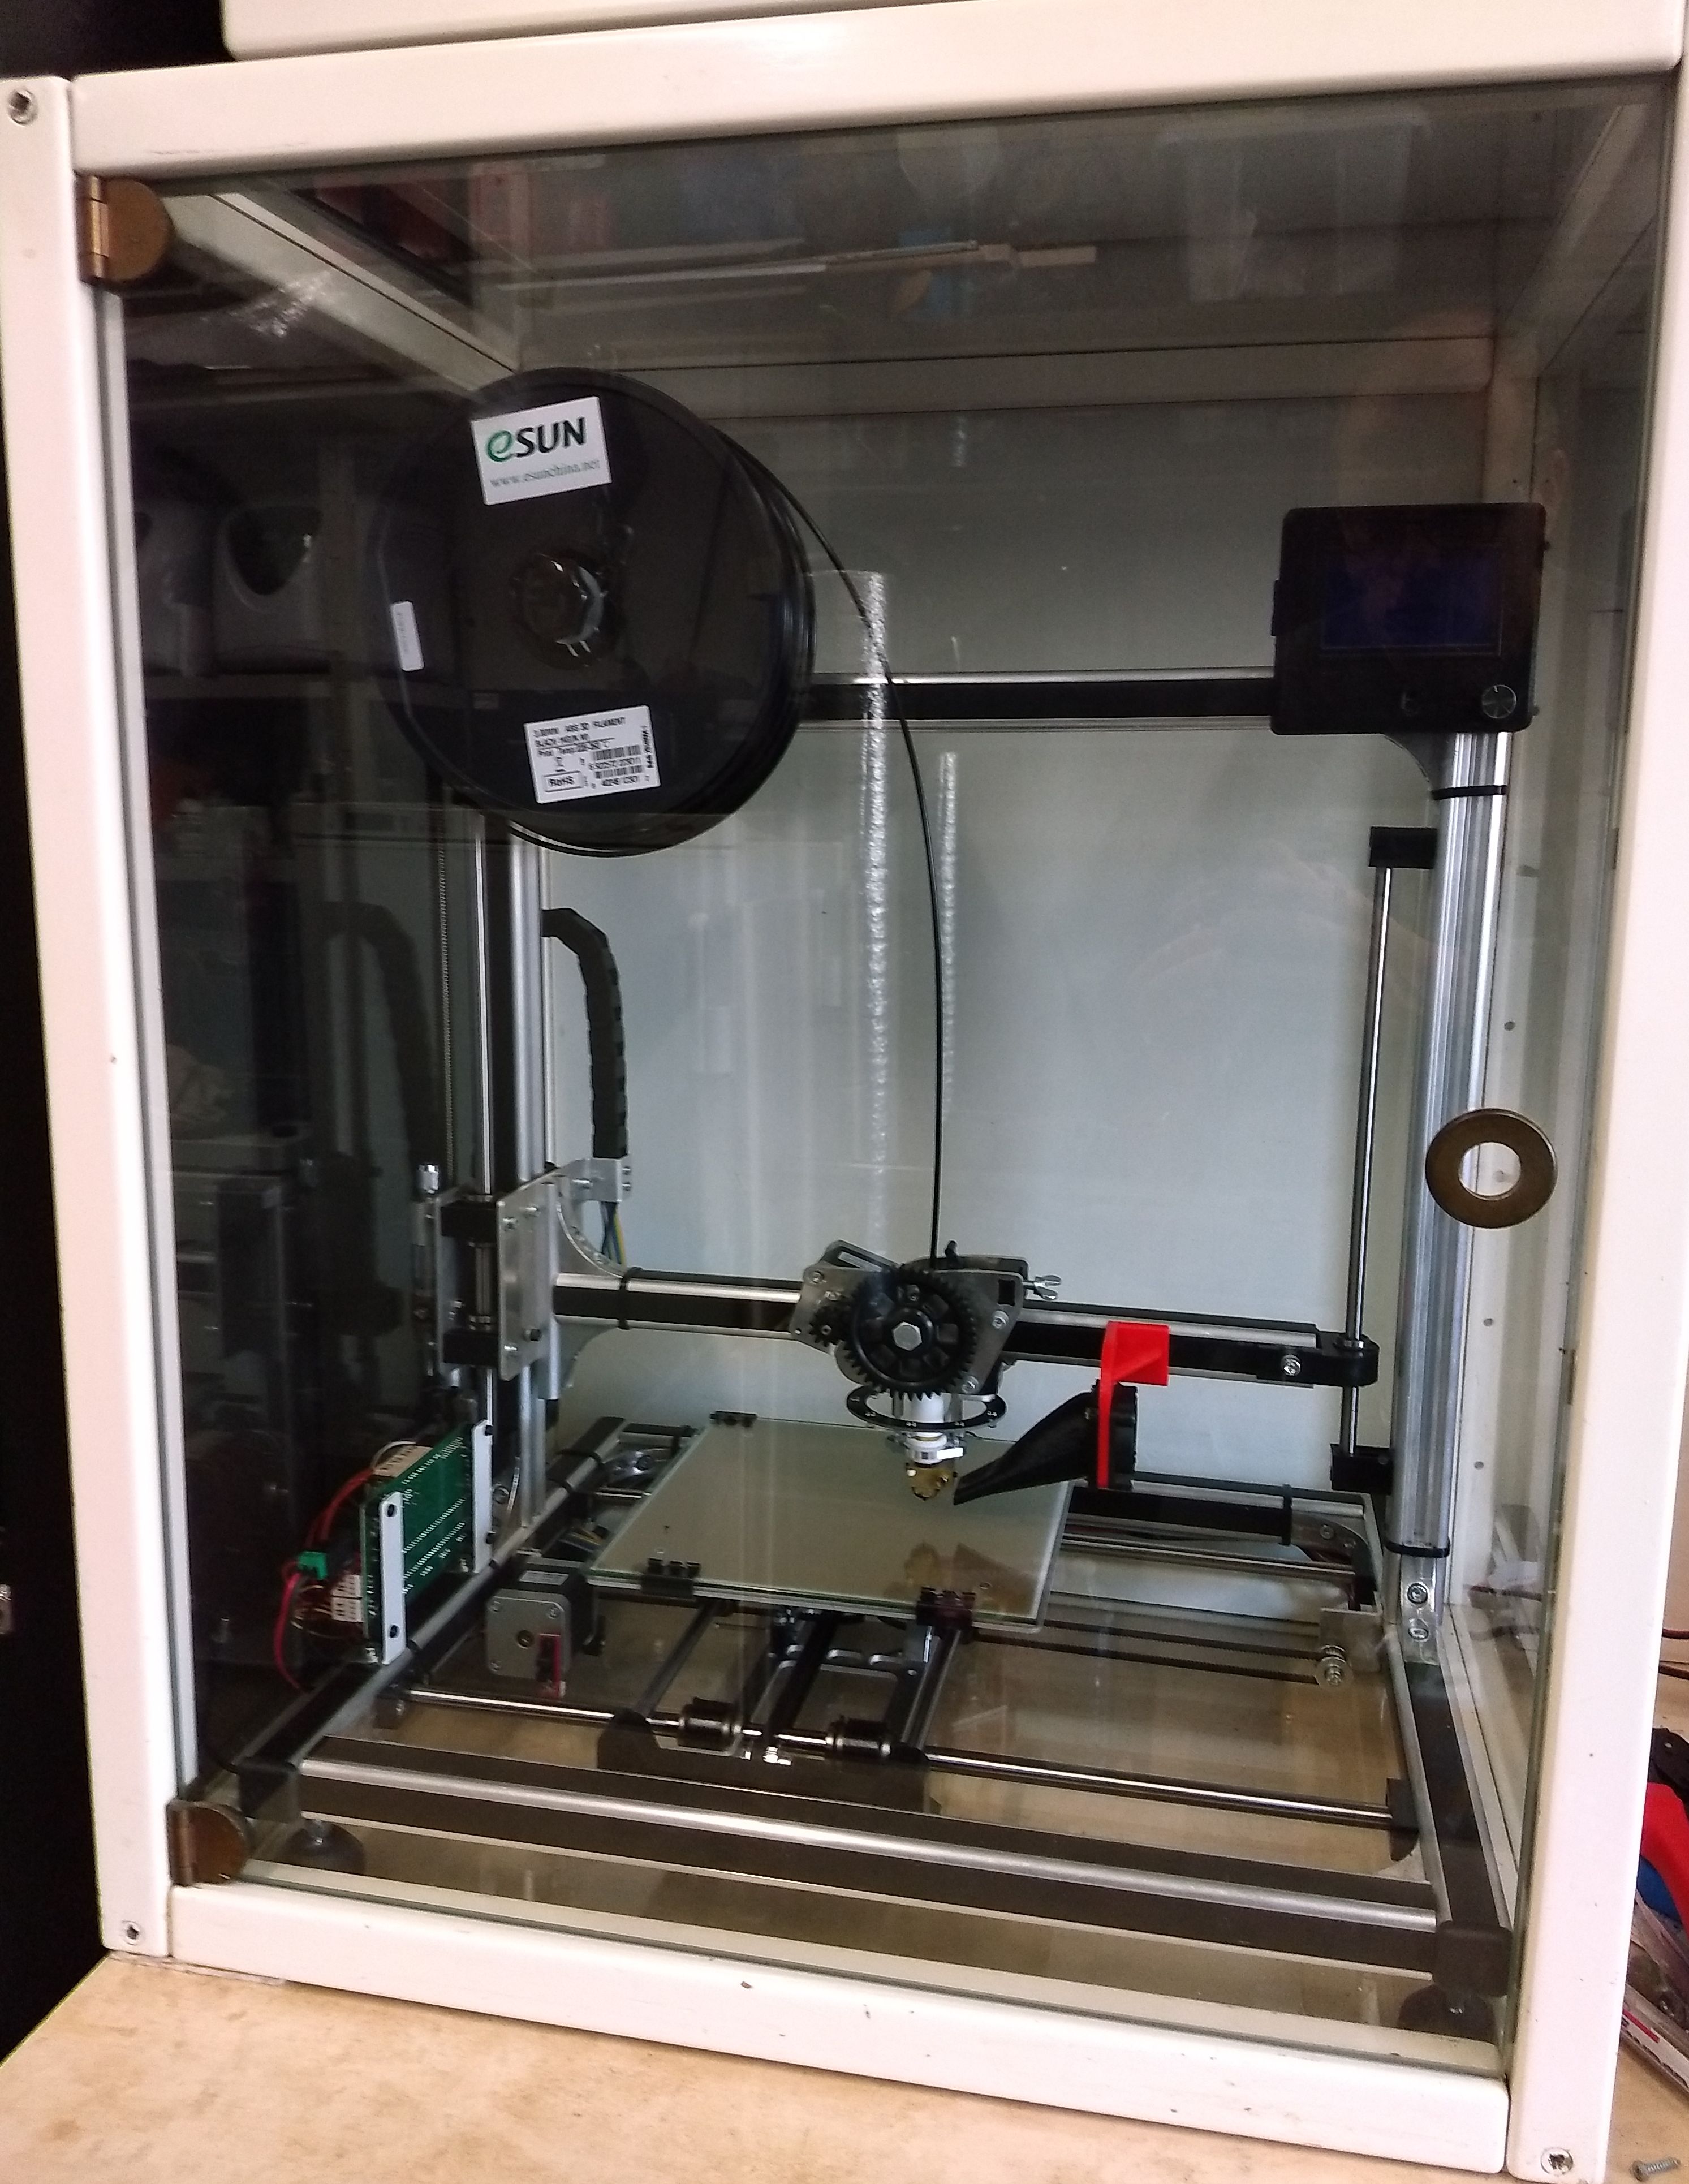
Then I wanted to put the printer in a nice cabinet, so it would not suffer from cold air while printing and dust while not printing. On Marktplaats I found a second hand glass cabinet that really fits the printer like a glove. And it was just two streets away!
My most recent modifications are:
New power supply for the heatbed (24V), controlled by the onboard Mosfet. Now the bed heats as quick as the hot-end, and I can print ABS now with heatbed on 80 degC.
Cable track for the Z-axis. Cables are now guided much nicer and "out of sight".
Moved the controller and the X-axis steppermotor to the left side. Now it fits even better in the cabinet and much shorter cables overall.
Replaced the T5 belts for GT2 belts. It feeld like it is running smoother now. Anyhow the T5 belts where on their end of life...
Replaced the controller board by a BTT SKR PRO v1.1 with silent stepper drivers (I love these!)
Changed the extruder and hot-end for a E3D V6 direct drive. Easily changing from 1.75 to 2.85mm filament.
Added a Raspberry Pi with Octoprint (OctoPi).